

Honda released this bike into the world late 1996, conquering the “Worlds’ fastest production motorbike” title as they did. Even to this day, it can no doubt be considered proper fast, as it will do 280 km/h no questions asked, given the space to do so.
I’ve done the utterly insensible thing and bought one. Partly because I could, partly because it’s on my bucket list to own one and partly because the CB500 I already own is not really designed for the use I subject it to. I like to go long-haul on vacations, and doing 1500 km in a day on a naked 500cc bike is – a challenge…
The Blackbird is a funny thing. Somehow the nice folks at Honda managed to produce a fairly comfortable super-longhaul-tourer capable of almost ballistic speeds. This bike lets you have your cake and eat it. Civilised insanity, combining comfort with a savage and utterly unforgiving behaviour.
Recall that the bike was marketed in the late nineties – the golden age of Honda quality. But also pre-ABS, pre-injection, pre-ECU, pre-launchcontrol, pre-anything… In essence, it’s a carburetted & bored-out Fireblade 164 bhp engine stuck in a chassis without any assists at all. None. As such, it’s lethal in the hands of amateurs.
So, you may ask, why did I go and do such a dumb thing? Because the Blackbird is entirely WYSIWYG. It’s completely mechanical; no fancy assists, riding modes, whizbang functions, six-axis-gyros or incomprehensible helper facilities. Upgrading from the CB500, I notice more weight, better wind protection, sportier riding position, even more stellar build quality and a fuel gauge. And, of course, the civilised assasin lurking inside. What’s not to like? Proper motor!
Now, working with the mechanics of this bike is not unlike working with the CB500, had it had a fairing that needs removal to get at basically anything. That annoys me a lot, as I’m used to the direct access. So only minor jobs have so far been carried out.
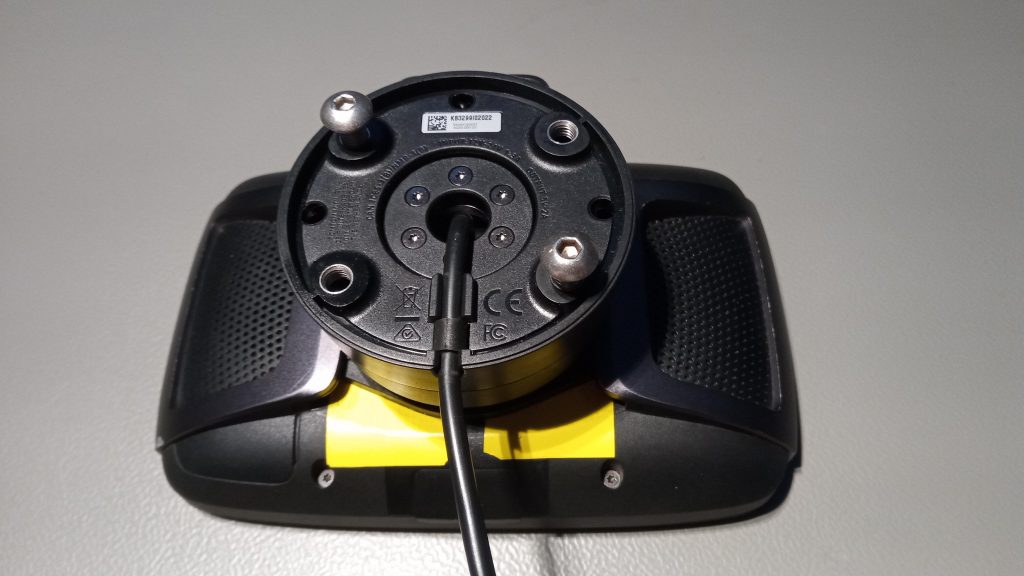
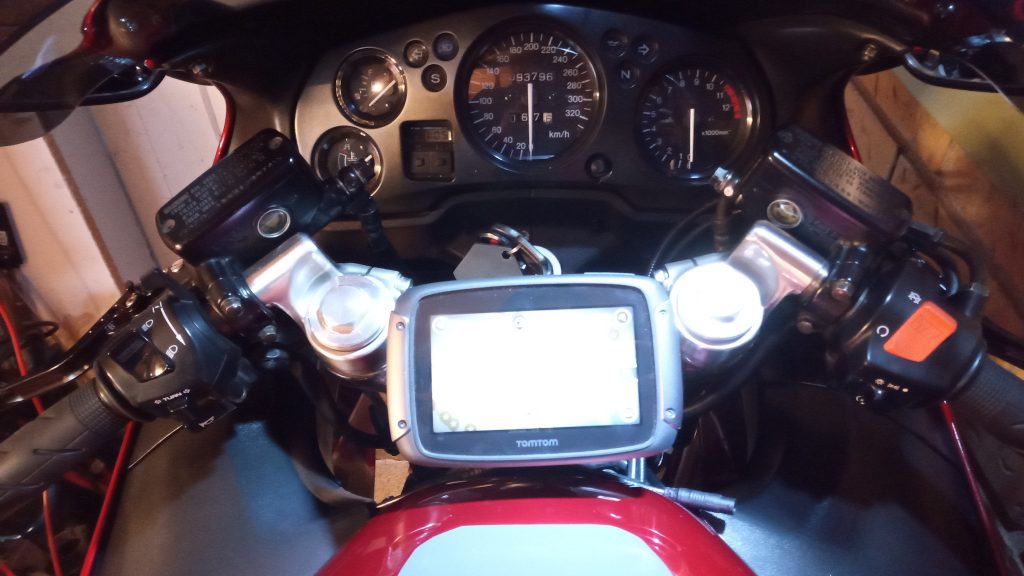
Installing a satnav should be fairly straightforward, right? Get hold of some 12V, bolt the satnav base to somewhere practical and Bob’s your uncle…
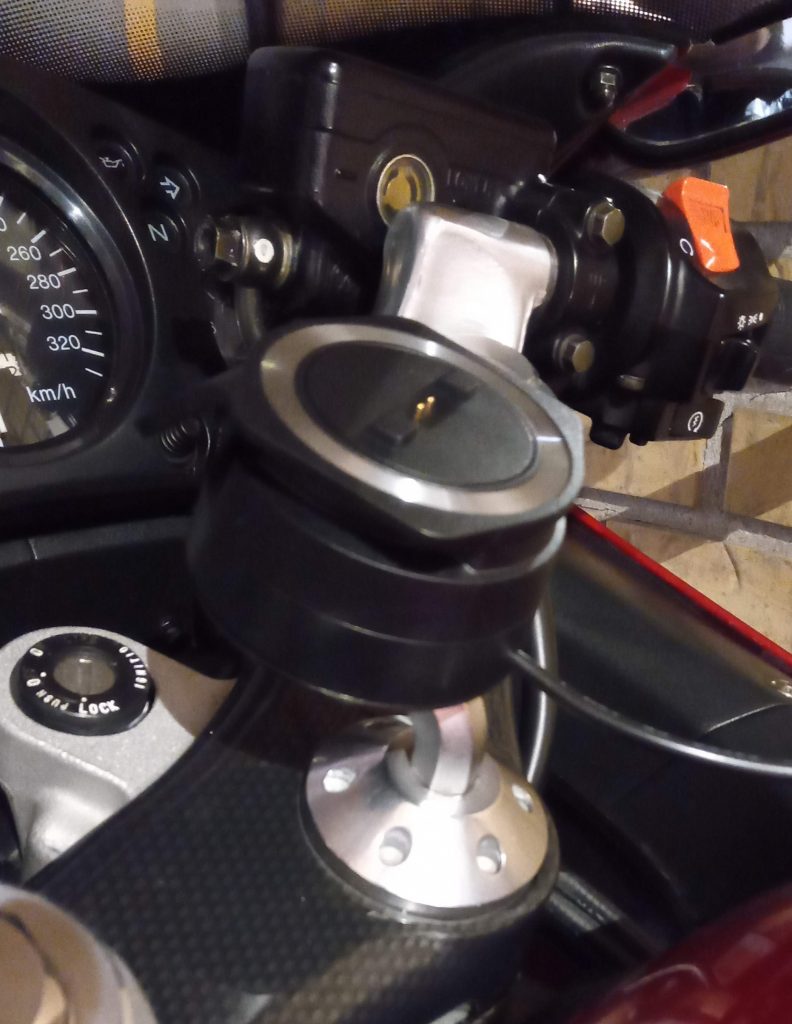
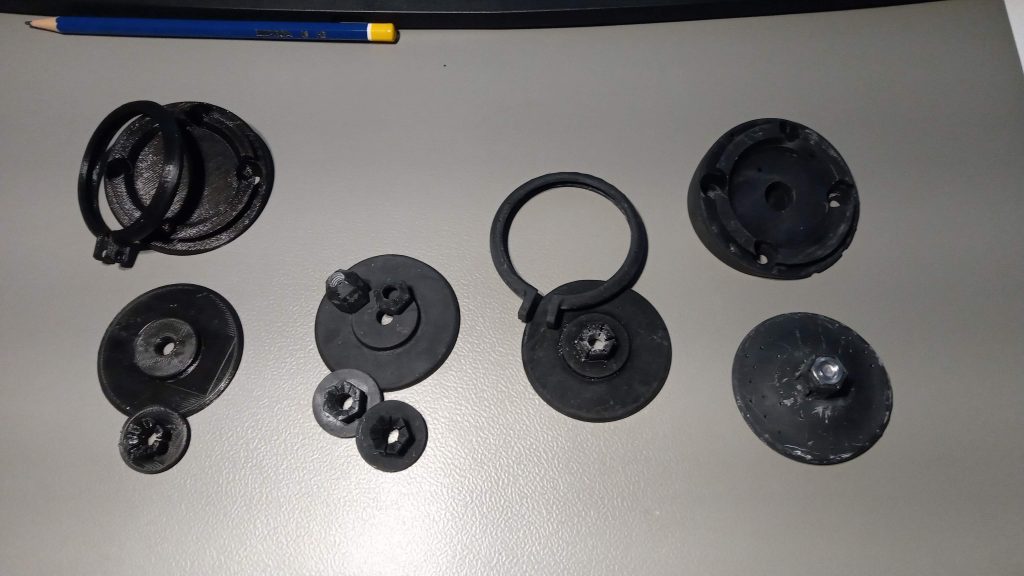
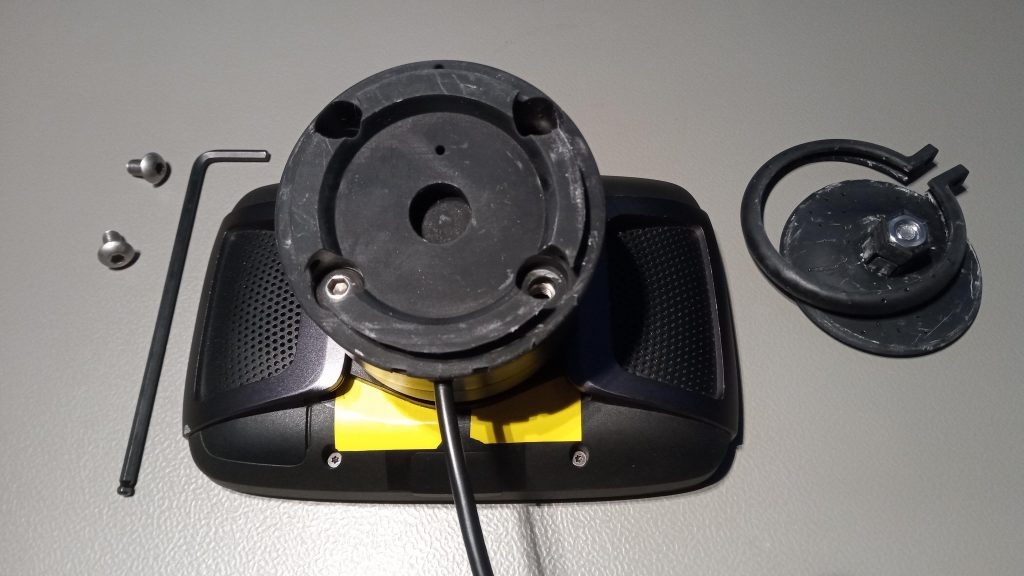
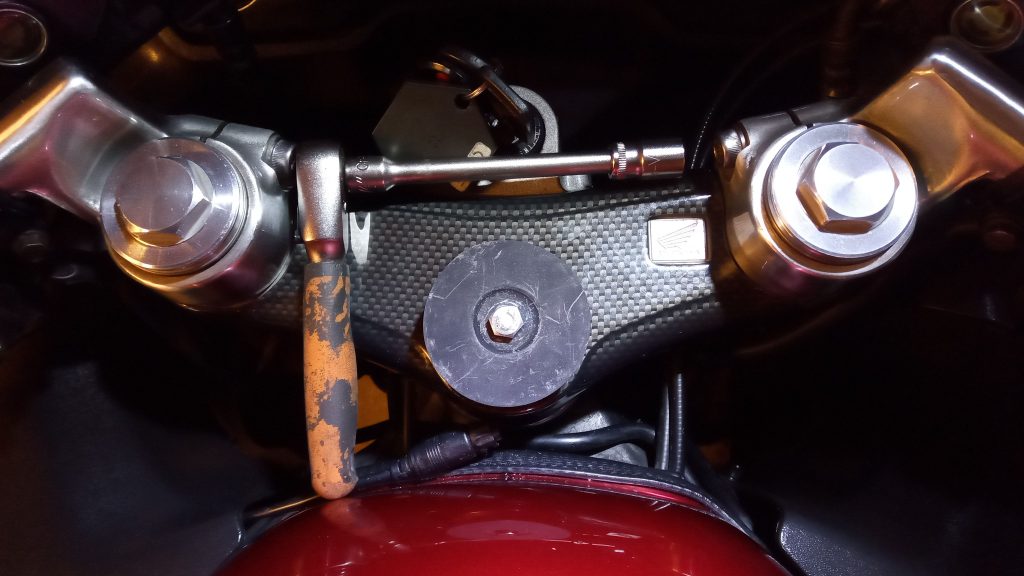
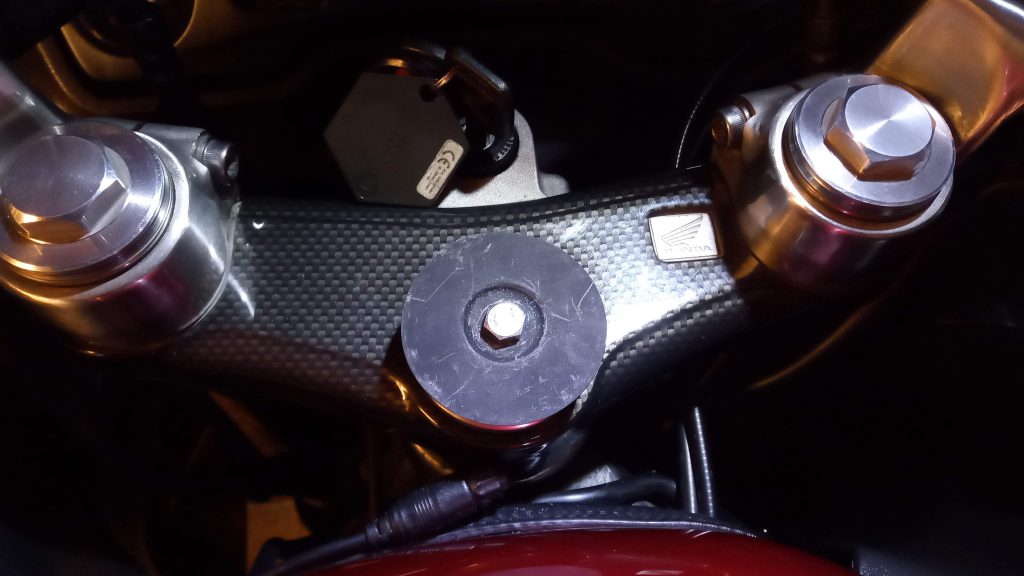
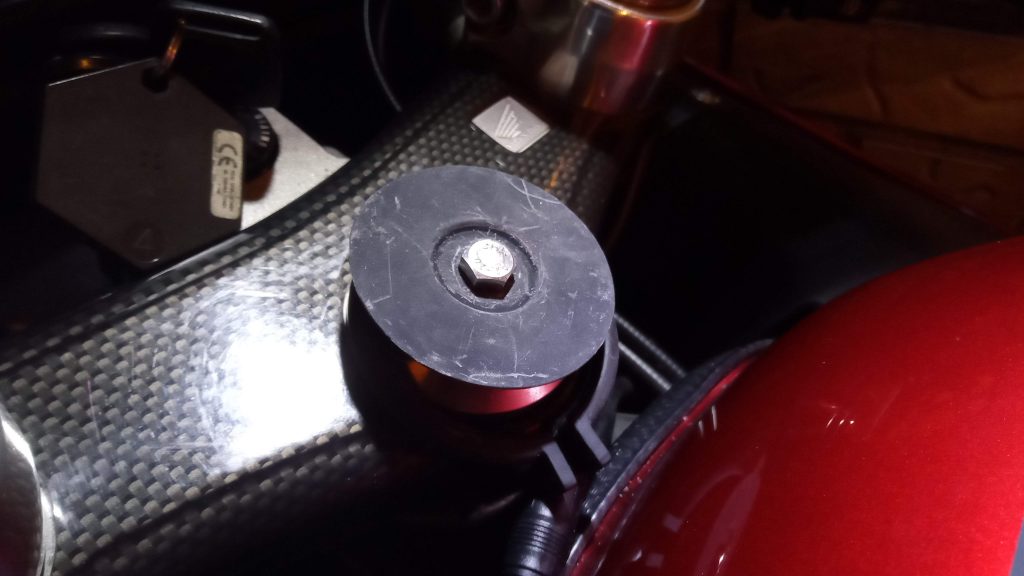
Right. Getting access to 12V I decided to tap into the position light circuit – hidden inside the nose cone. I took an hour of faffing, only to learn that a previous owner had had exactly the same idea. So I ended up using existing wires. Next was ‘somewhere practical’. But where? Only thing that seemed to fit my requirement was the hexagonal hole in the triple tree yoke top bolt. It’s designed to be used with an Allen key, but several manufacturers have devised mounts to go into the hexagonal hole – all of them offering RAM-mounts to the user. Clunky, ugly, big, inelegant solutions the lot of them! I want my TomTom satnav to integrate with the instrumentation and be angled perfectly as well.
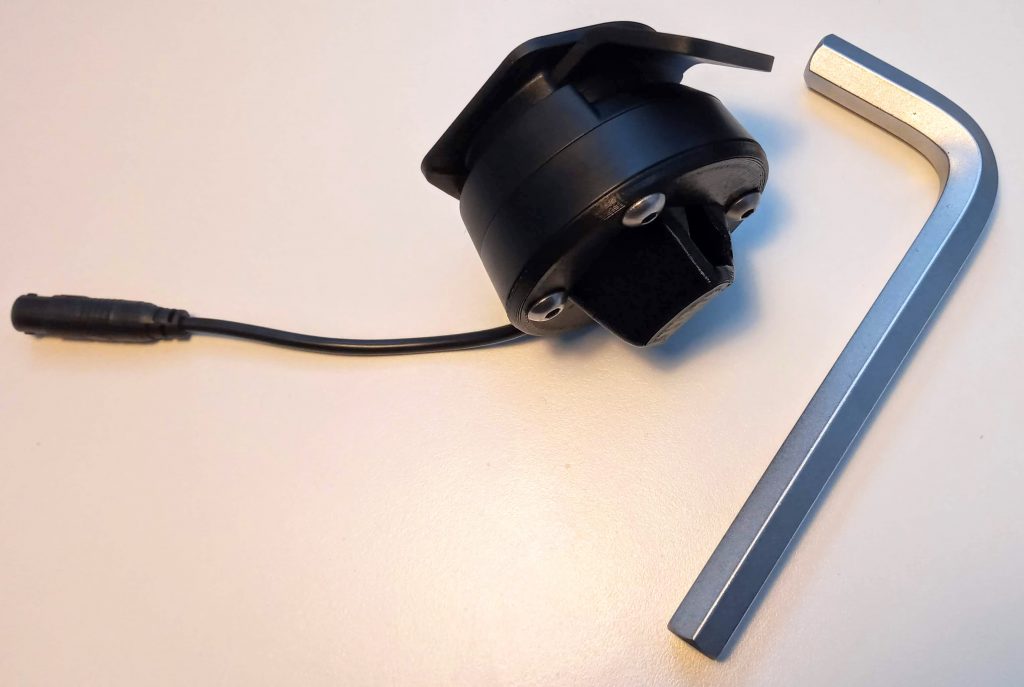
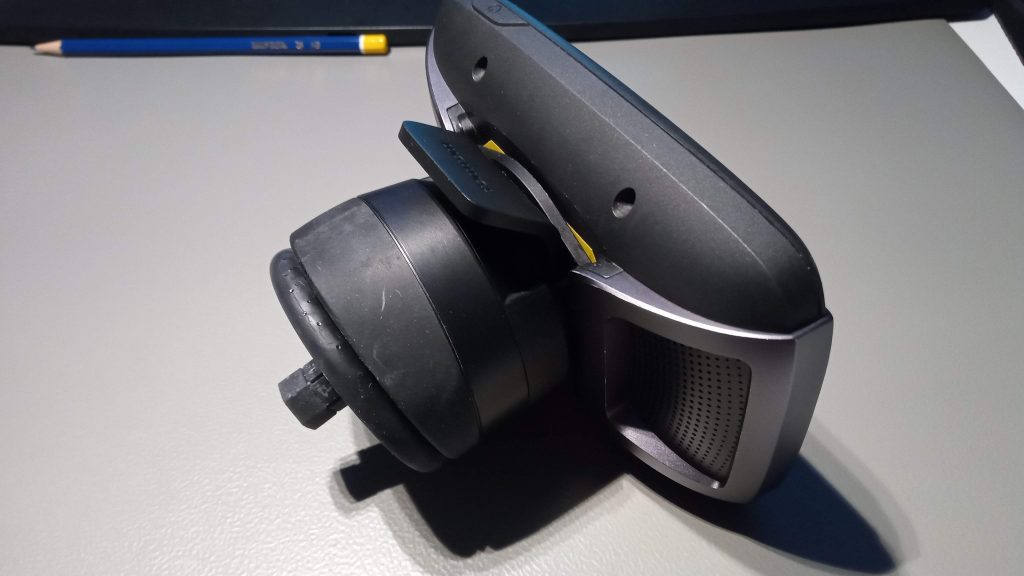
Attempt 1 was an actual allen key + a bit of 3D-printed trickery:
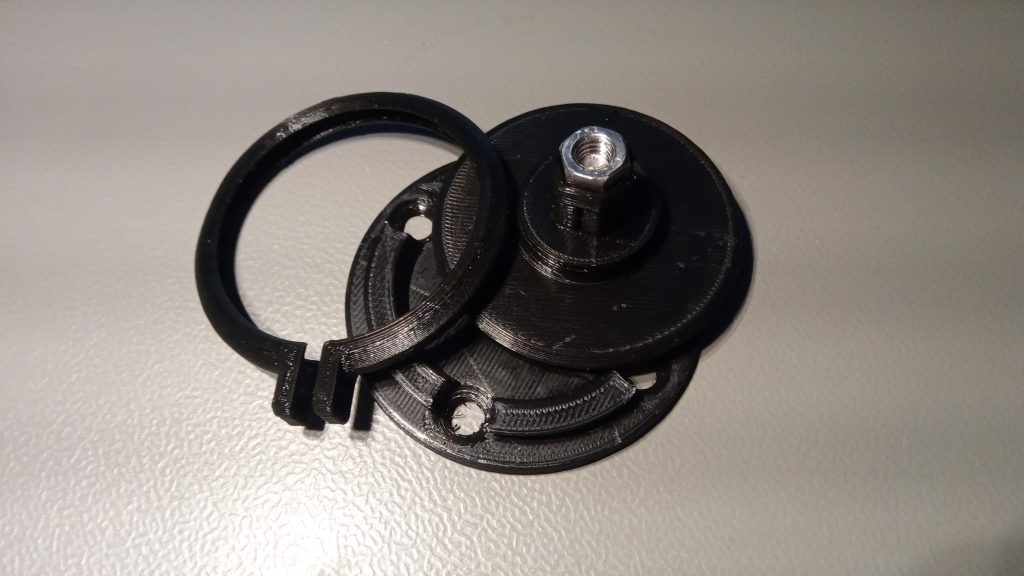
Attempt 2 is supposed to be smaller and with an option to turn display to angle of choice:
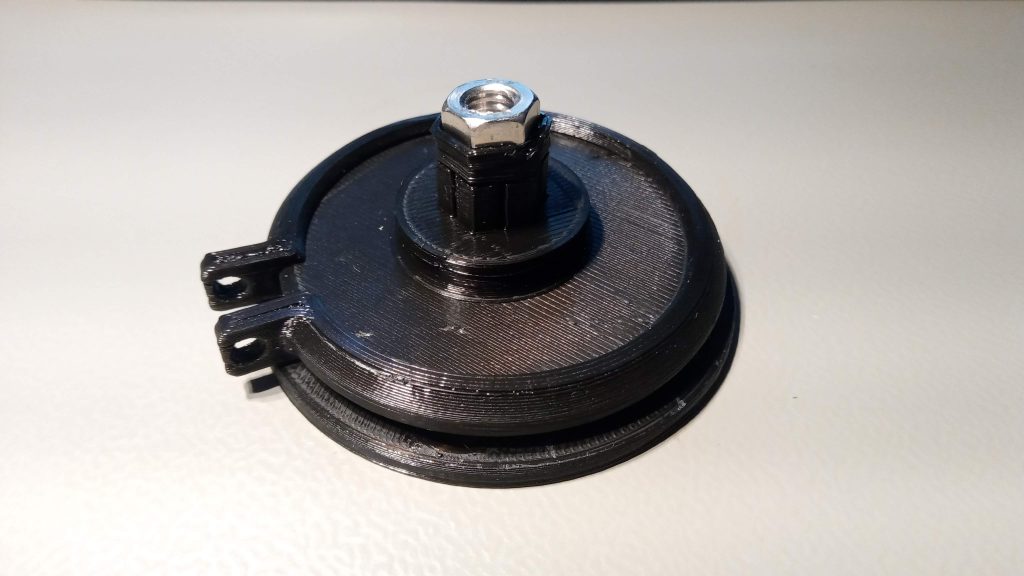
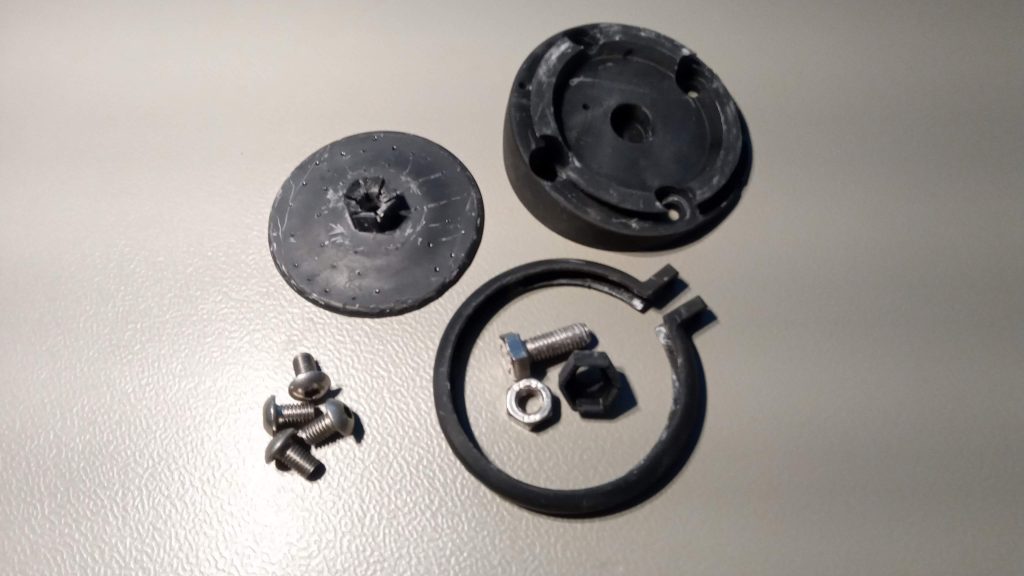
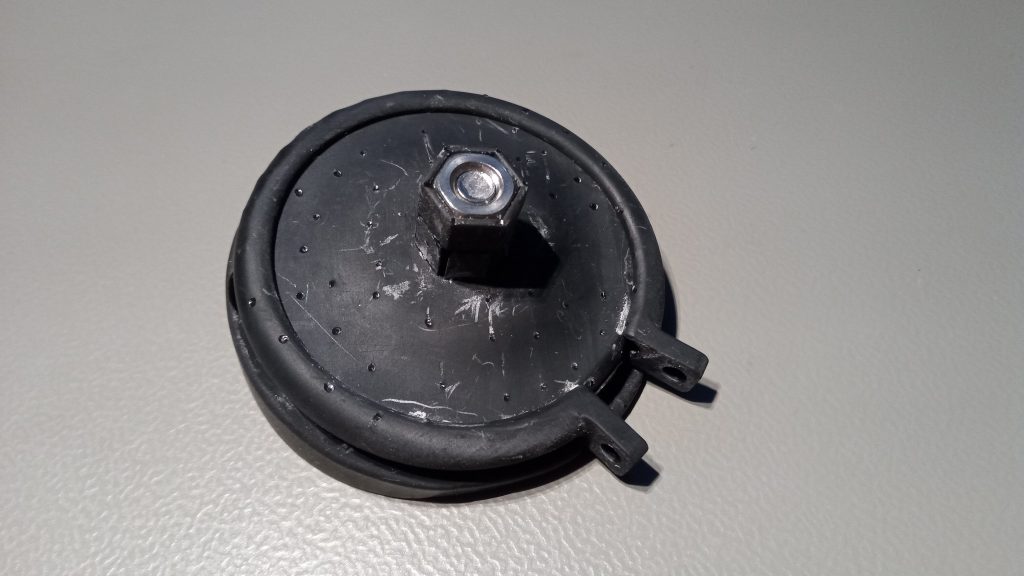
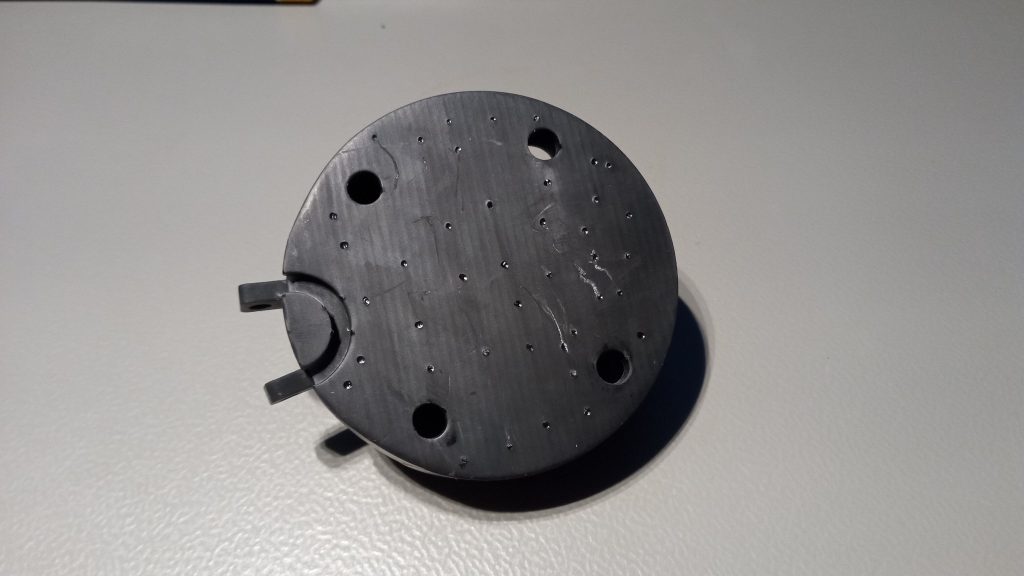
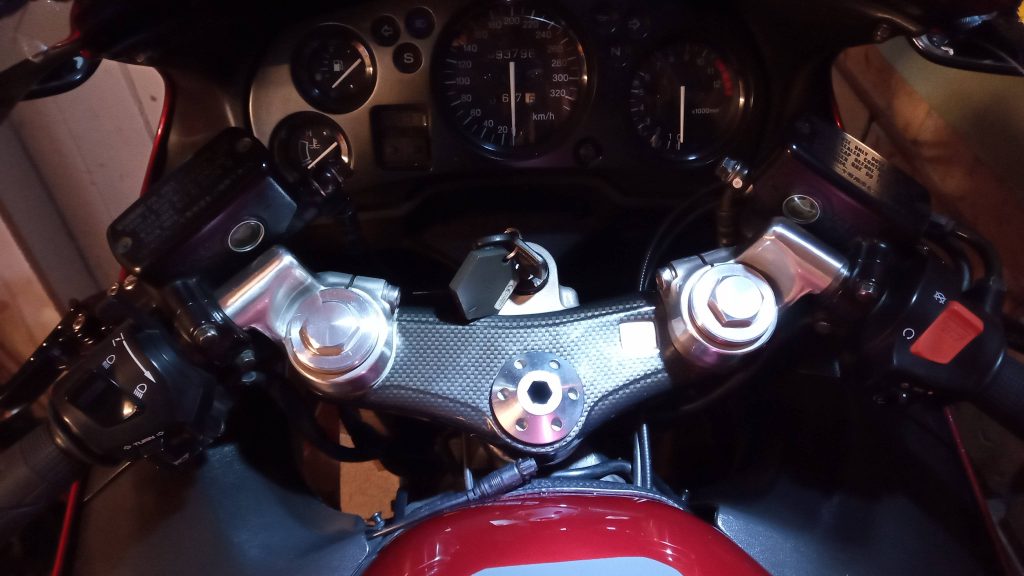
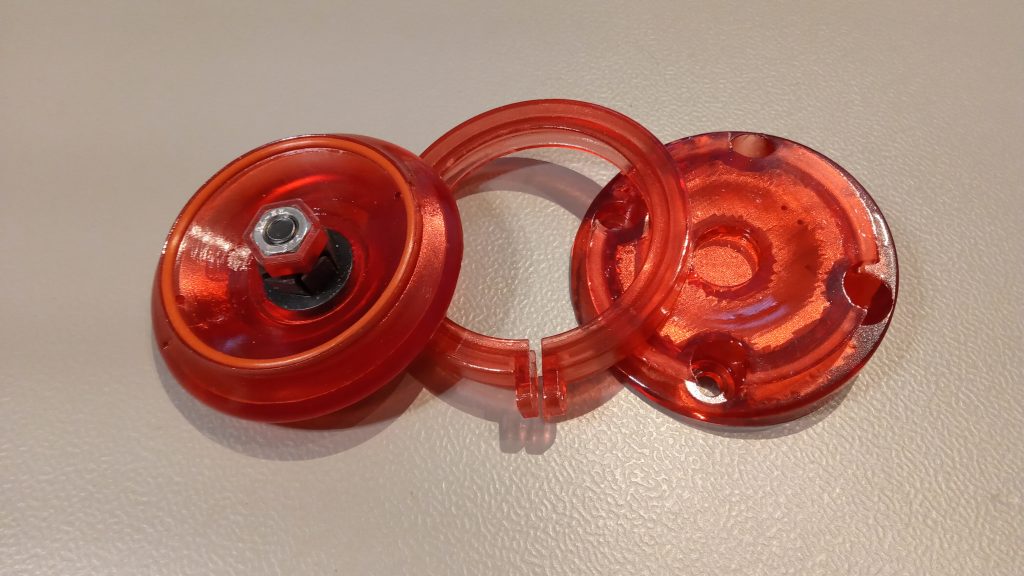
Update august 2021: Base plate redesigned to rest on yoke nut perimeter rather than balancing on top of it. This arrangement includes an O-ring for vibration damping and scratch-protection. The prototype is now printed in transparent red and sprayed with clear-coat to match the bike’s colour scheme. It looks – and functions – absolutely superb:
Adding some sort of LED light for effect is tempting. Night-vision-cockpit-hue for those 2AM-in-the morning-events?